If you have a powerful NAS server with massive redundancy (RAID), you wish you can access all files and directories from anywhere on the planet.
Recently I switched from Synchronizing Offline file to a real-time access my drive remotely using WebDAV. This twist is that I am using Synology WebDAV on server side and Windows 10 without any third-party product. I am using simple Map Network Drive option in Windows Explorer.
Here are the steps:
-01- Login to your Internet domain provider and create an “A” type DNS record to link your router external IP address with a permanent subdomain string of your choice. In this example, I will use
nas.yourDomain.com
-02- Configure WebDAV on Synology or on any other NAS that you have. Use a port of your choice. In this example, I will use port 1234.
-03- Configure TCP port forwarding on your router. Once again, port that you are exposing to the Internet doesn’t have to be the same as your internal WebDAV port.
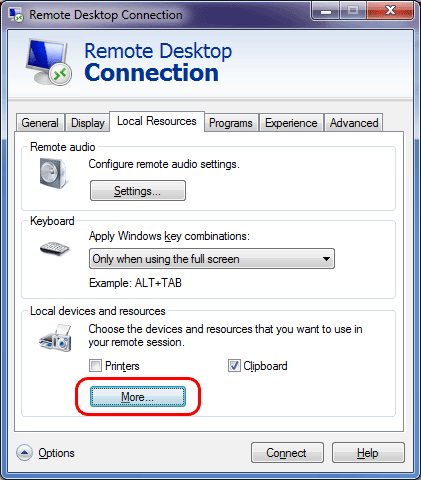
-04- On your client go to Map Network Drive and map a drive to this magical string:
https://nas.yourDomain.com:1234/yourShare
System will ask you to login. Use your NAS credentials.
If this doesn’t work, please ask questions.
One potential complication could come from encryption. So far, this method worked for me on two laptops: one Windows 7, and one Windows 10:
– on Windows 7 laptop, I did not have to do anything additional;
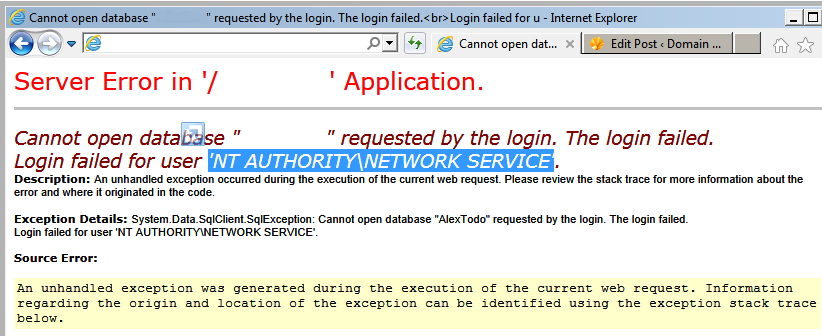
– on Windows 10 laptop, I had to install a HTTPS certificate that I obtained (for free) from Let’s Encrypt. Once again, ask questions, if more details are needed.
Logistical note: I will place this article both as new topic in forum “” and as a new post under category Windows. I will let you know, what format gets better Google research.

Zoltan Gal,
The certificate from Let’s Encrypt is installed automatically from the DSM interface as soon as it is issued. No further installation is required.
Reply to “zipster1967”:
Thank you for your question.
It is slightly out of main theme of this post – “Mapping remote WebDAV drive”.
And, most likely, you already figured this problem out.
-01- make sure you can see your certificate via Synology – Control Panel – Certificates
-02- configure your router to forward traffic on a desired port to your Synology unit
-03- point your sub-domaian to the IP address of your router
-04- make sure to use https:// when accessing your Synology (Note: I do not remember how, but I configured all http:// traffic to go to https:// automatically)
Please send more question, if you need clarifications.
I have a certificate from my domain provider but my NAS is on another network. I have added the certificate to my NAS network but I am not sure it is functioning. When I connect to my NAS login using the DDNS server setup through Synology I still get an unsecured site. Any assistance you could give me on solving this problem would be greatly appreciated.
Hi,
could you please help me how to install the win10 https certificate what you got for free from let’s encrypt?
thx in advance